
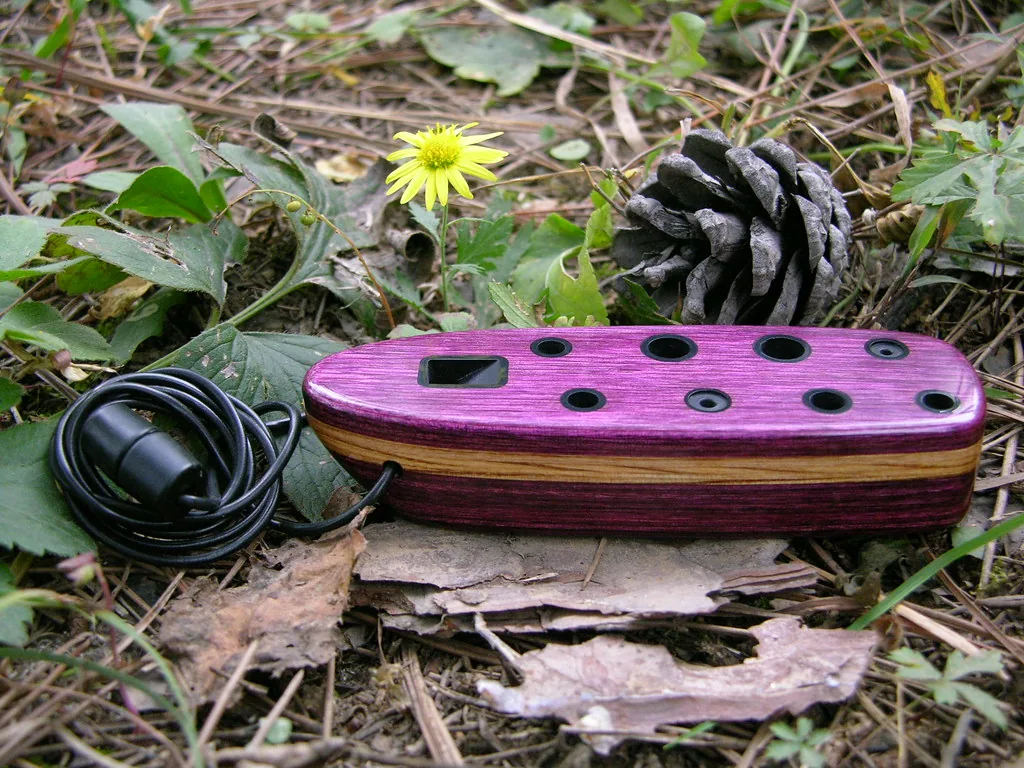
Welcome to this short and practical guide. It covers the essentials for understanding this ancient wind instrument, which is accessible to beginners and curious musicians alike.
Its compact shape and clear sound make it appealing. Giuseppe Donati’s modernization in 1853 made this instrument easy to play for people of all ages.
This guide will help you choose a suitable model, learn the basics of fingering and make rapid progress. Regular practice turns learning into a pleasure.
Within a few weeks, simple exercises are enough to play your first melodies. To explore the method in greater depth and find exercises, visit our dedicated page to learn to play easily.
Follow this guide and discover a versatile instrument that is pleasant to hold and hear.
Understanding the history and appeal of the ocarina
This instrument has roots in Maya and Aztec cultures, where it played a ceremonial role. These terracotta flutes accompanied rituals and festivities.
In the 19th century, Giuseppe Donati modernized its shape. His 1853 redesign made it easier to play and more accessible. Since then, learning the instrument has become widespread throughout Europe.
Learning the ocarina connects ancient traditions with contemporary music. Its gentle sound appeals to beginners and experienced musicians alike.
- Its ritual use among Mesoamerican civilizations.
- Donati’s 1853 redesign, which modernized the instrument.
- Its portability and appealing sound encourage people to learn.
| Period | Role | Characteristic |
|---|---|---|
| Mesoamerican antiquity | Ceremonies | Terracotta, varied shapes |
| 19th century | Musical reform | Shape standardized by Donati |
| Modern era | Recreation and performance | Easy to learn and portable |
10-hole ocarina: how it works and tips for beginners
Sound is produced when air enters the cavity and begins to vibrate. This simple principle creates clear, precise notes. Covering or uncovering each hole changes the air column and the pitch of the note.
The ten-hole model makes learning easier. It requires a moderate airflow to produce stable sounds. Beginners can therefore start playing short melodies quickly.

“68% of beginners correct their mistakes within 3 weeks when using a tuner.”
Practical benefits:
- Sound production based on cavity resonance.
- Regular practice improves fingering accuracy and concentration.
- Within a few weeks, simple models let you learn easy melodies.
For guided exercises and step-by-step tutorials, see our resource on how to learn to play. A tuner and 10 to 15 minutes of daily practice are enough to make rapid progress.
Essential criteria for choosing your first instrument
Choosing the right instrument makes it much easier to begin playing music.
The transverse model, with its 10 to 12 holes, is well suited to adults who want to explore more complex melodies.
It offers a wider range and allows room for variation and improvisation. This format supports rich, progressive learning.
The pendant model, which often has 4 to 6 holes, is lightweight and very easy to carry. It appeals to children and beginners looking for an instrument that is simple to handle.
“Choosing the right format encourages motivation and regular practice.”
This guide helps you compare the options so that you can make the best choice for your development. Beginners often find that a 12-hole format remains the most versatile way to discover the ocarina’s full potential.
- Adults: choose the transverse model to play a variety of melodies.
- Children: the pendant model is easier to handle and hold.
Comparing materials and keys
The choice of material directly affects the warmth and projection of the sound.
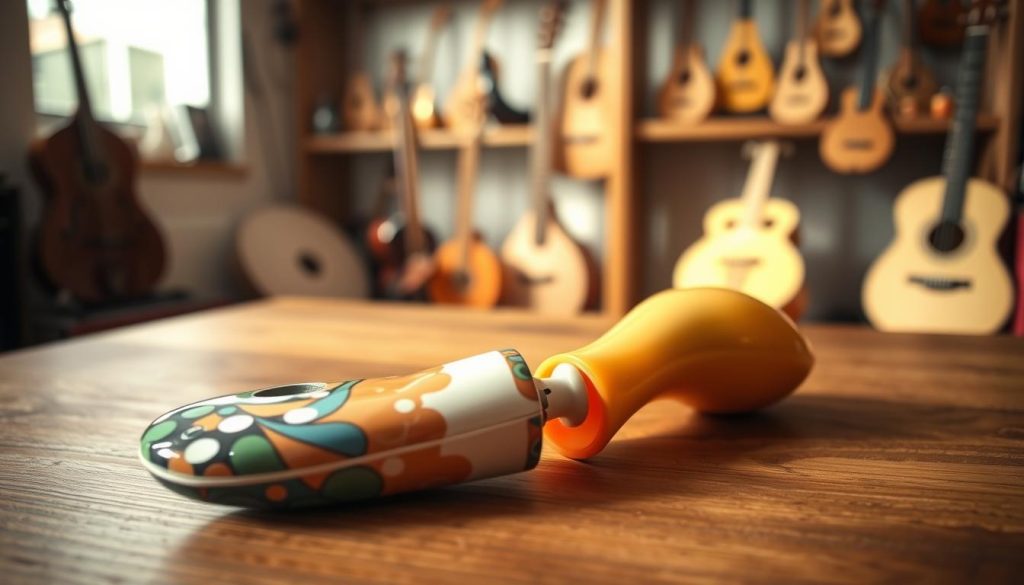
Ceramic versus plastic
Ceramic offers a warm, rich tone. It produces full harmonics. Although fragile, this material is valued for its sound quality.
Plastic, on the other hand, is lightweight and durable. It better withstands impacts and changes in humidity. It is a good choice for everyday use and travel.
Choosing the right key
For a beginner, an alto in C is often the best compromise. It offers a versatile key and works with a wide range of sheet music.
- Ceramic: warm tone, fragile material, ideal in the studio or on stage.
- Plastic: durable, lightweight and practical for learning and carrying the instrument.
- Key: alto in C makes common pieces easier to access.
| Material | Advantage | Disadvantage |
|---|---|---|
| Ceramic | Warm, rich tone | Fragile and sensitive to impacts |
| Plastic | Durable and lightweight | Less depth of sound |
| Ceramic, 12 holes | Professional sound | More expensive and requires maintenance |
Adopting the ideal playing posture
Adopting a stable posture immediately improves breath control. Sitting properly makes breathing easier and reduces fatigue during practice.
Body position
Place your feet flat on the floor, shoulder-width apart. Sit or stand upright without becoming rigid. This position helps open the rib cage and encourages natural breathing.

Hold the instrument securely but without tensing up. Keep your hands relaxed so that you can change position quickly.
- Place your fingers precisely over each hole to prevent air leaks.
- Do not block the mouthpiece or the main voicing window by gripping too tightly.
- A stable hold improves airflow continuity during long sessions.
| Element | Practical advice | Expected effect |
|---|---|---|
| Feet | Wide base, feet parallel | Better breathing |
| Hands | Relaxed, secure grip | Quick position changes |
| Fingers | Precise placement over the holes | Clear, leak-free notes |
“A simple, consistent posture is often the key to rapid progress.”
Mastering breath control
Controlling your breath turns hesitant sounds into clear musical phrases. This skill is essential for playing the ocarina and producing stable notes.
Begin with diaphragmatic breathing: inhale deeply, then exhale gently. Managing your airflow lets you adjust the strength and duration of each note.
- Candle exercise: blow for 5 minutes so that the flame flickers without going out. This exercise helps you maintain constant pressure.
- Posture: good body position frees the diaphragm and improves airflow accuracy.
- Fingers and holes: seal the holes properly with your fingers to prevent air leaks that impair the sound.
- Daily practice: a few minutes each day builds endurance and improves intonation.
“Mastering breath control makes every note more expressive and every phrase more coherent.”
To explore these methods further and discover other breath-control techniques, follow a regular, progressive routine.
Learning basic fingerings
Mastering basic fingerings gives you quicker access to short, expressive melodies.
Begin by identifying holes numbered 1 to 6 on your model. This numbering system makes positions and fingering charts easier to memorize.
Practice with a mirror exercise: play a sequence, then repeat it while observing the symmetry of your fingers. This improves accuracy and reduces positioning errors.

Use a tuner to check that every note matches the expected pitch. Frequent checks help correct air leaks and intonation problems.
- Cover the holes sequentially to learn the foundation of the major scale.
- Repeat slowly to develop finger muscle memory.
- Adapt the positions to your hand shape to maintain good ergonomics.
“Clean fingering is the foundation that makes more complex pieces possible.”
Practical exercises for playing scales up and down
Regular scale practice significantly improves finger agility and airflow stability. Begin with a slow warm-up, then focus on placing your fingers accurately over each hole.
The C major scale
The C major scale follows the sequence C–D–E–F–G–A–B–C. Practice each note slowly, then increase the speed while maintaining accurate intonation.
Example: play the ascending scale, then descend while maintaining the same airflow intensity on every note.
Using a metronome
Set the metronome to 60 BPM. Practice for 15 minutes per session to stabilize your rhythm and airflow.
- Playing scales up and down improves finger agility on this instrument.
- Alternate between plastic and ceramic models if possible; the precision of the holes affects intonation.
- Use free sheet music and the Berbiguier method to vary your exercises.
“Controlled repetition turns an exercise into a musical phrase.”
| Exercise | Tempo | Duration |
|---|---|---|
| Ascending and descending C major scale | 60 BPM | 15 minutes |
| Staccato fingering repetitions | 60 BPM | 10 minutes |
| Slow progression followed by acceleration | 60 → 80 BPM | 5 to 10 minutes |
Understanding tablature and sheet music
Reading sheet music becomes simple once you understand how notes on the staff correspond to fingerings.
Tablature provides an intuitive visual guide for beginners. It uses numbers to show which holes to cover or leave open. This system speeds up the process of learning melodies and reduces reliance on reading the staff.
Reading musical symbols
The treble clef defines note pitches on the staff. Accidentals, such as sharps and flats, change the pitch of a note.
Practical tips:
- Associate every note on the staff with a specific finger position to make it easier to memorize.
- Use MuseScore to transpose sheet music for your instrument’s key.
- Visit OcarinaTabs.org: it provides more than 1,000 tablatures as learning examples.
“Tablature offers a quick foundation; mastering standard notation lets you tackle more complex pieces.”
Advanced techniques for progressing quickly
Progress faster by incorporating targeted techniques into your routine.
Diaphragmatic vibrato: Claudio Colombo’s method provides remarkable expressiveness. Practice short passages while modulating your breath, then incorporate this vibrato into slow phrases.
Practice in front of a mirror to correct your posture and check your finger positions. This visual aid improves airflow and fingering accuracy.
Analyze demanding pieces, such as Flight of the Bumblebee, to develop speed and agility over the holes. Break the passage into 15- to 30-second segments and repeat them slowly.
- Discipline: devote 15 minutes per session to octave changes and accidentals.
- Method: alternate exercises on plastic and ceramic models if possible.
- Listening: record yourself and compare your playing with tablature to refine every note.
“A consistent method turns technical exercises into genuine melodies.”
| Technique | Goal | Recommended time |
|---|---|---|
| Diaphragmatic vibrato | Expressive phrasing | 5 to 10 minutes per session |
| Practice in front of a mirror | Correct posture and airflow | 5 minutes of observation |
| Segments from pieces | Agility over the holes and accidentals | 15 minutes of focused practice |
Correcting common beginner mistakes
Clearly identifying playing problems makes significant progress possible within a short time.
Many mistakes arise from unstable intonation. 68% of beginners correct their mistakes within 3 weeks when using a tuner. Use one regularly to identify pitch discrepancies.
Poor posture or excessive pressure on the mouthpiece causes whistling sounds. Control your breath and adjust your hold on the instrument to eliminate this unwanted noise.
Check the position of every finger over the holes: an air leak distorts the note. Practice the positions in front of a mirror to spot abrupt or inaccurate movements.
- Work slowly with a tuner to stabilize your notes.
- Practice in short, regular sessions, whether your model is made of plastic or ceramic.
- Incorporate mirror practice to improve fingering accuracy.
“Consistency will always correct recurring mistakes in the end.”
For practical fingering guidance, consult a detailed fingering chart and adapt the exercises to your needs.
Tips for maintaining and protecting your ocarina
After each session, a few simple steps are enough to preserve accurate intonation. Regular maintenance extends the life of this instrument and ensures good breath control during subsequent sessions.
Cleaning and storage
Always let your instrument air-dry after use to prevent condensation. Leave it on a clean cloth with the mouthpiece pointing upward.
Wipe the exterior with a soft cloth after playing. For ceramic models, avoid abrasive products that could damage the glaze.
Plastic models can withstand more thorough cleaning, but be careful not to block the holes with cotton swabs or debris.
Store your instrument in a padded case to protect it from impacts. This preserves the precision of the holes and makes it easier to use tablature while learning.
- Regularly check the condition of the holes and their edges to prevent air leaks.
- Avoid extreme changes in humidity and temperature, which can crack ceramic.
- Always carry the instrument in a suitable case to reduce scratches and deformation.
“Simple, regular maintenance ensures stable notes and more enjoyable playing.”
| Action | Frequency | Expected effect |
|---|---|---|
| Air-drying | After every practice session | Prevents condensation and internal corrosion |
| Wiping the exterior | After every session | Preserves the glaze and appearance |
| Thoroughly cleaning plastic | Weekly or as needed | Removes debris without blocking the holes |
| Checking the holes and finger contact | Monthly | Maintains an airtight seal and accurate intonation |
| Storing in a case | Whenever the instrument is not being played | Protects against impacts and scratches |
For practical resources suited to beginners, discover a beginner’s guide and a selection of recommended tablatures that complement this maintenance advice.
Conclusion
Progress depends primarily on mastering breath control and focused repetition of scales.
Mastering this instrument requires patience, but a structured method and 15 minutes of daily practice accelerate learning. A tuner helps stabilize the key and notes during practice.
Choosing the right model, from pendant to transverse, makes the key and basic fingerings easier to learn. Like Jean, aged 72, join communities to share tablature and pieces and strengthen your motivation.
Ready to begin? Download our resources, adopt good posture, control your breath and quickly begin playing melodies and major scales.